


How to caramelise white chocolate

A very easy method which elevates and gives a beautiful richness and depth of flavour to white chocolate. All that is required is an oven, a large baking dish or tray (ideally ceramic), a spatula and white chocolate.
The first time I tried caramelised white chocolate–unbeknownst to me–was with a Caramac bar. A beautifully thin chocolate in shiny red and yellow plastic wrap, it was my mum’s favourite sweet treat when I was wee, so if ever my dad took me to get a sweety from the petrol garage that used to be near our house growing up, I would always pick up a bar for mum.
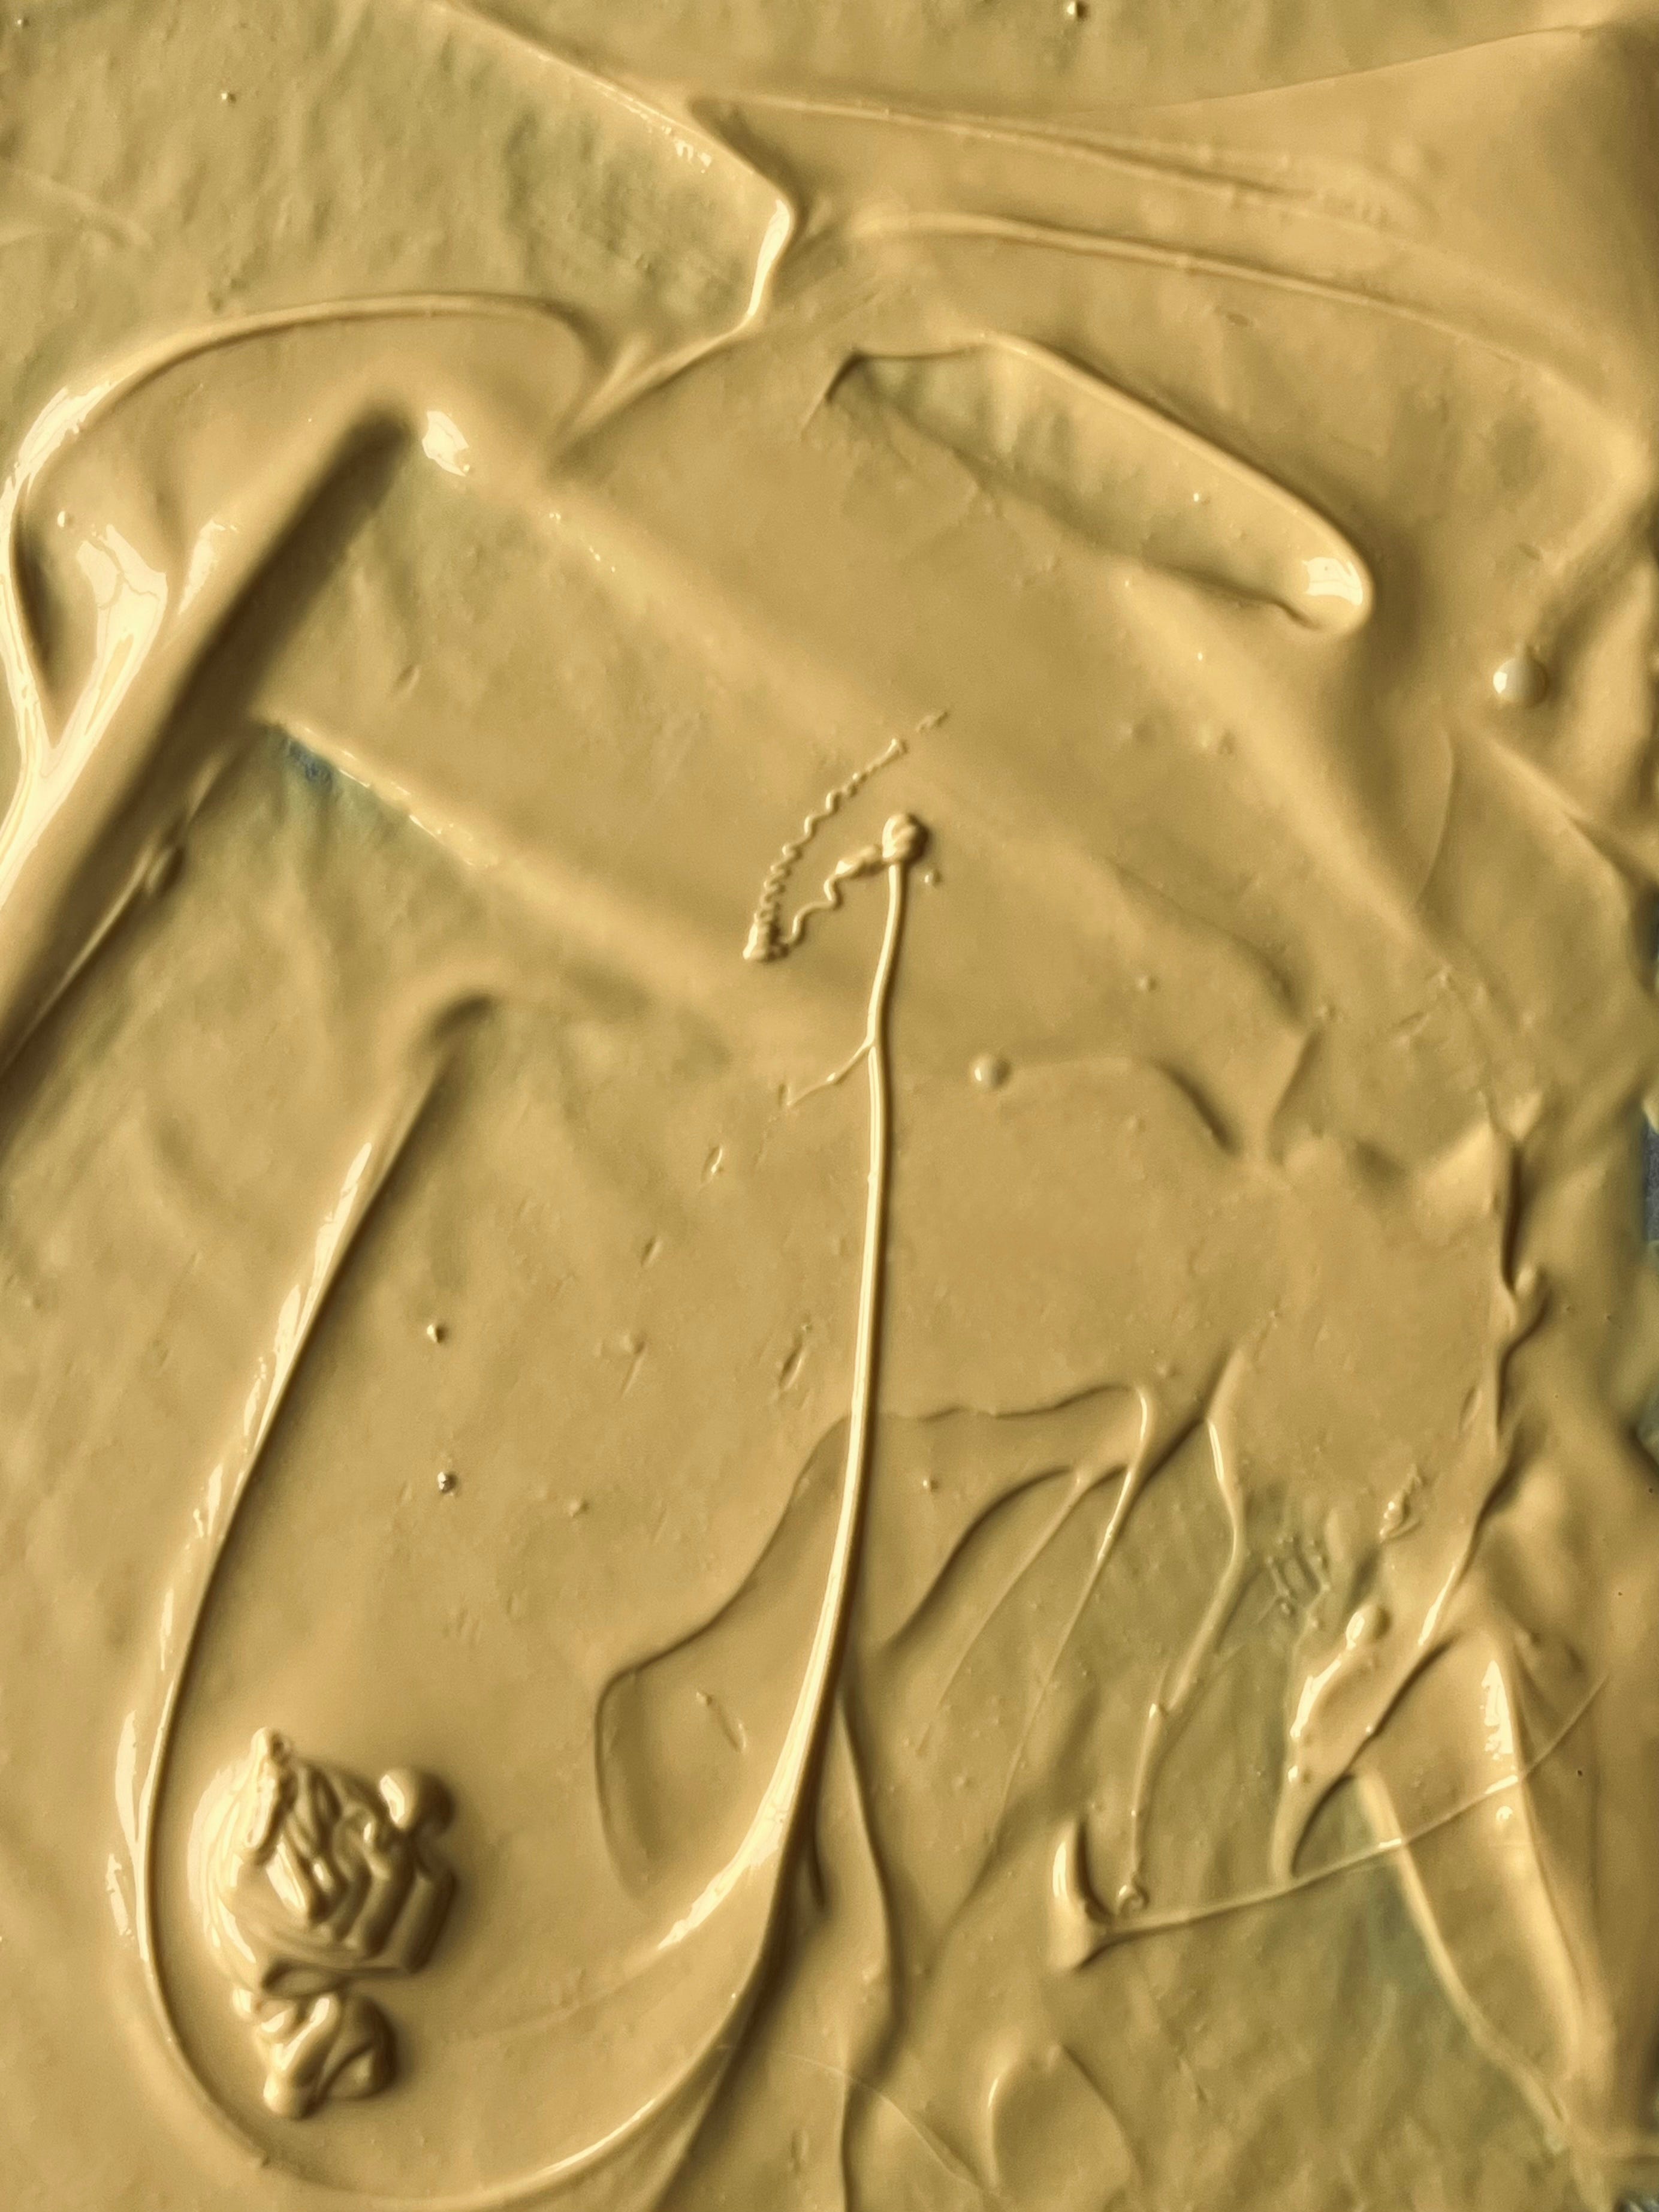
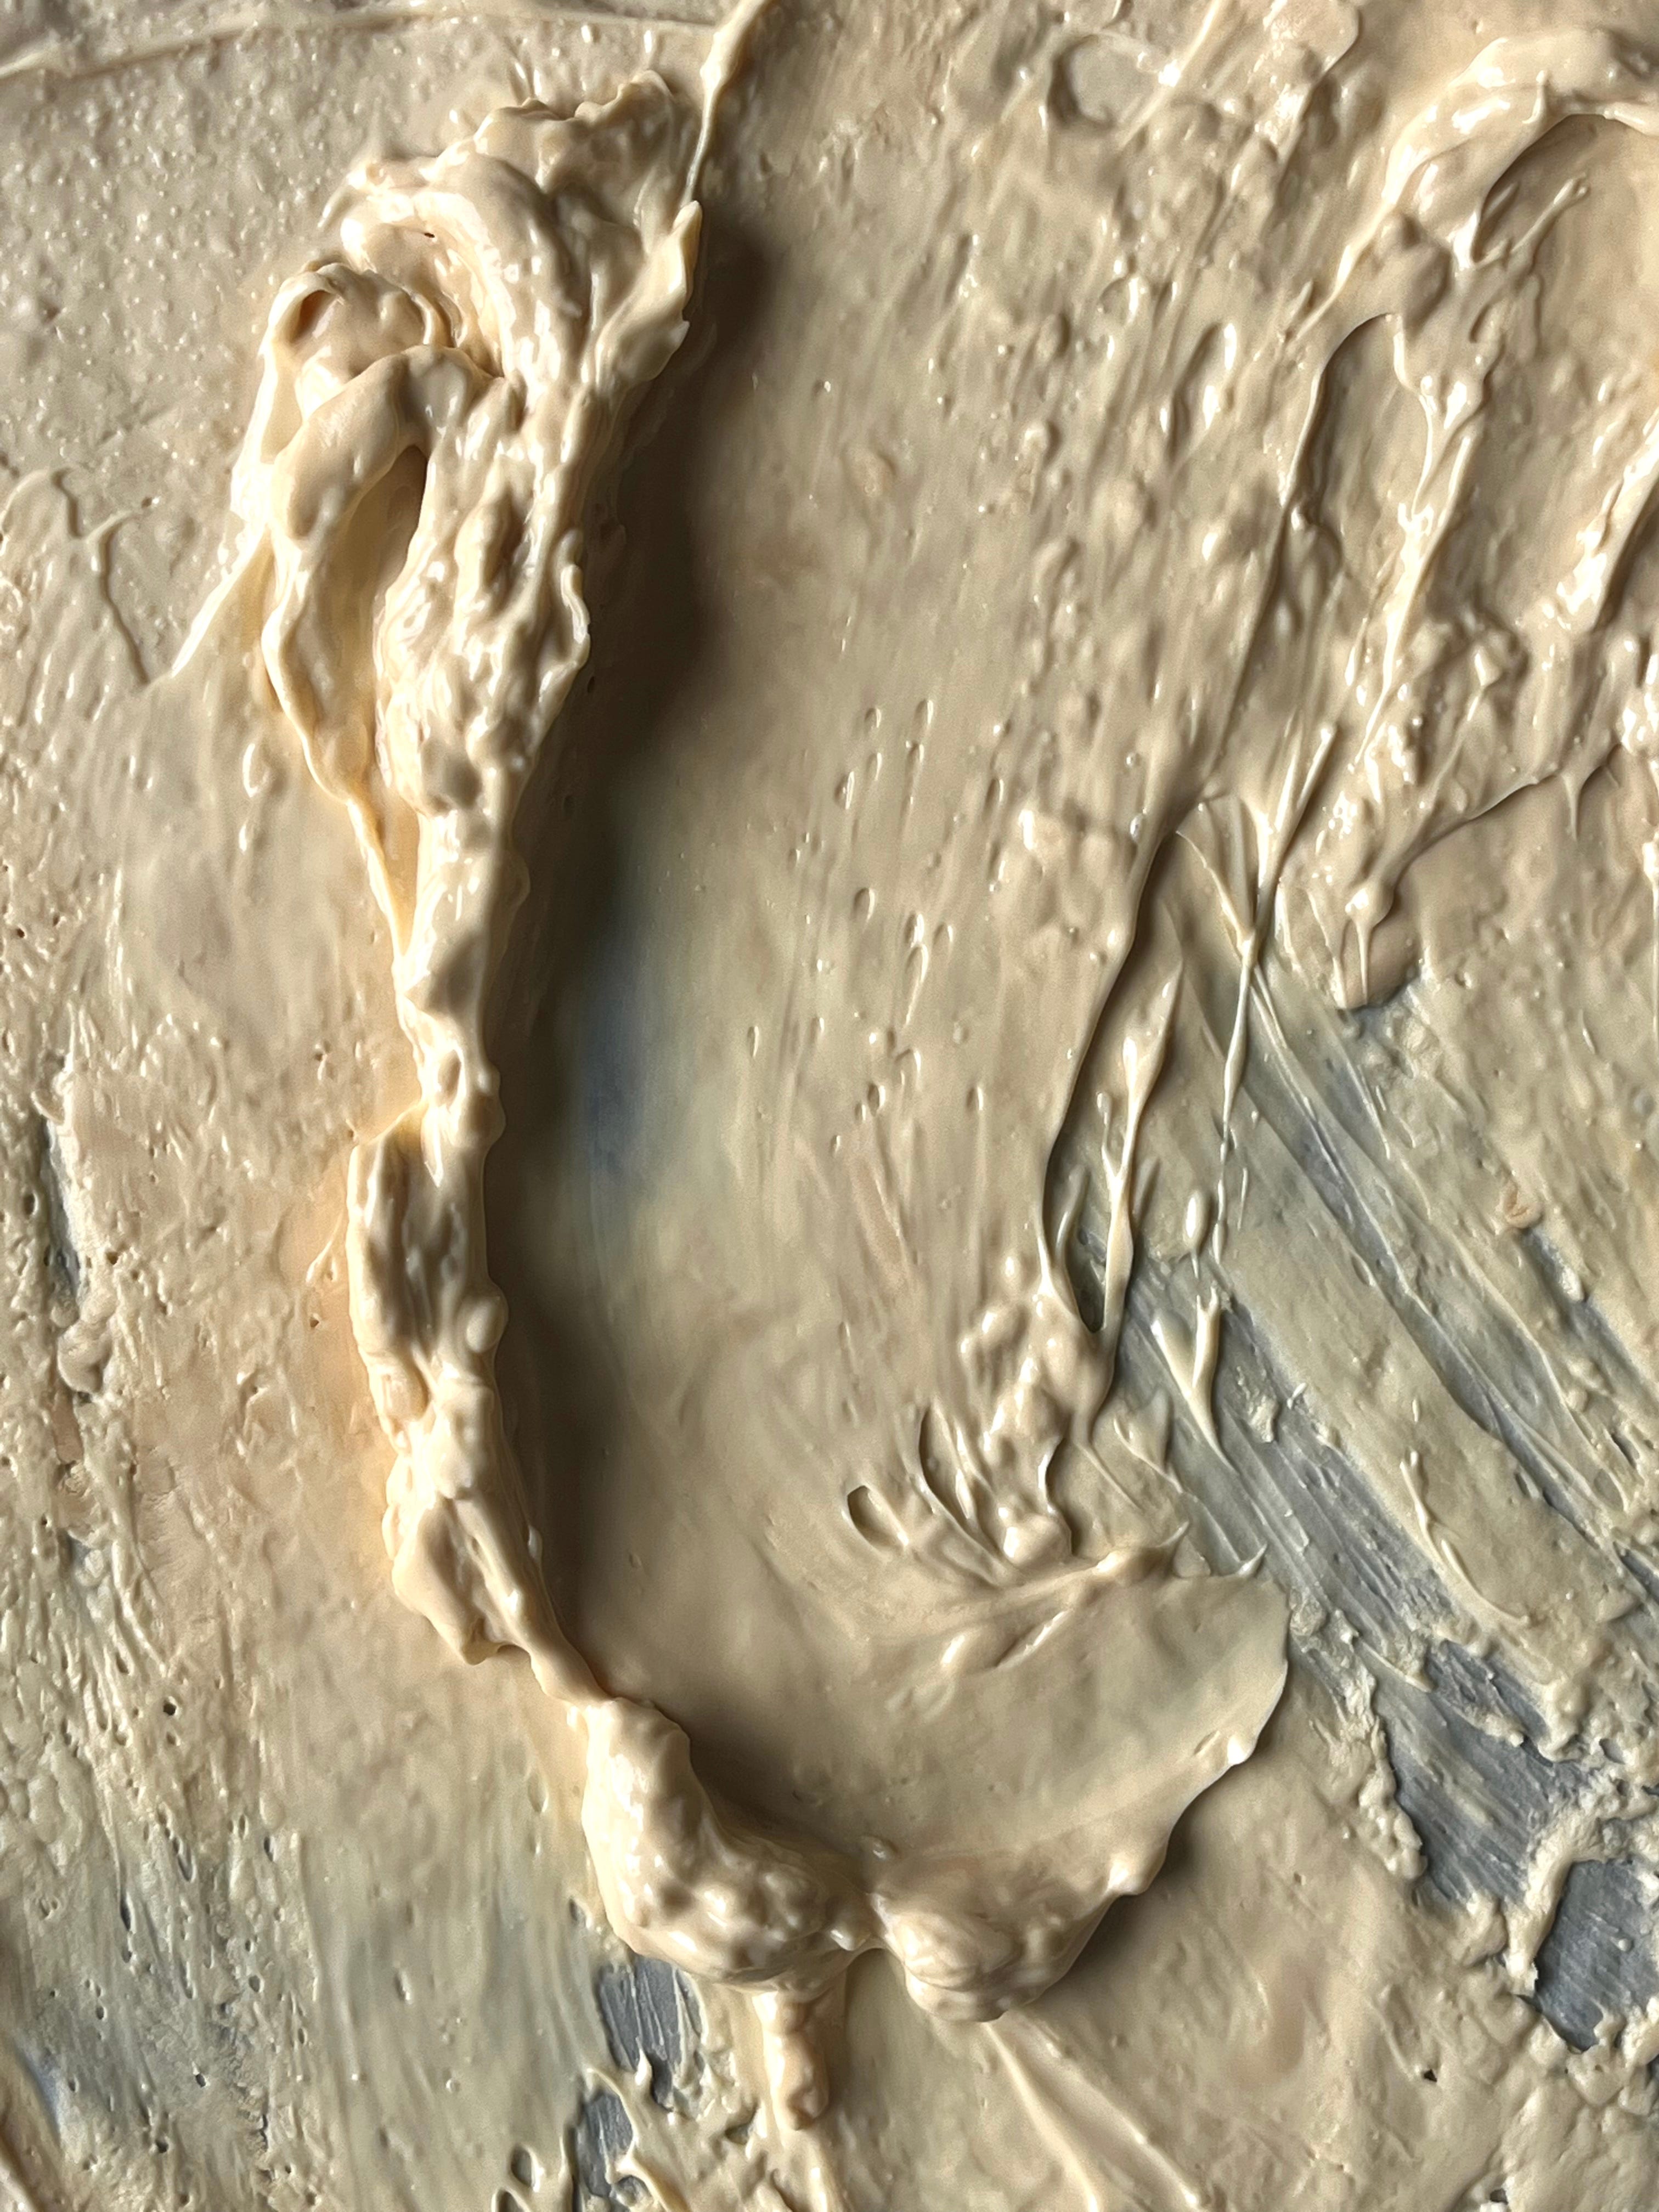
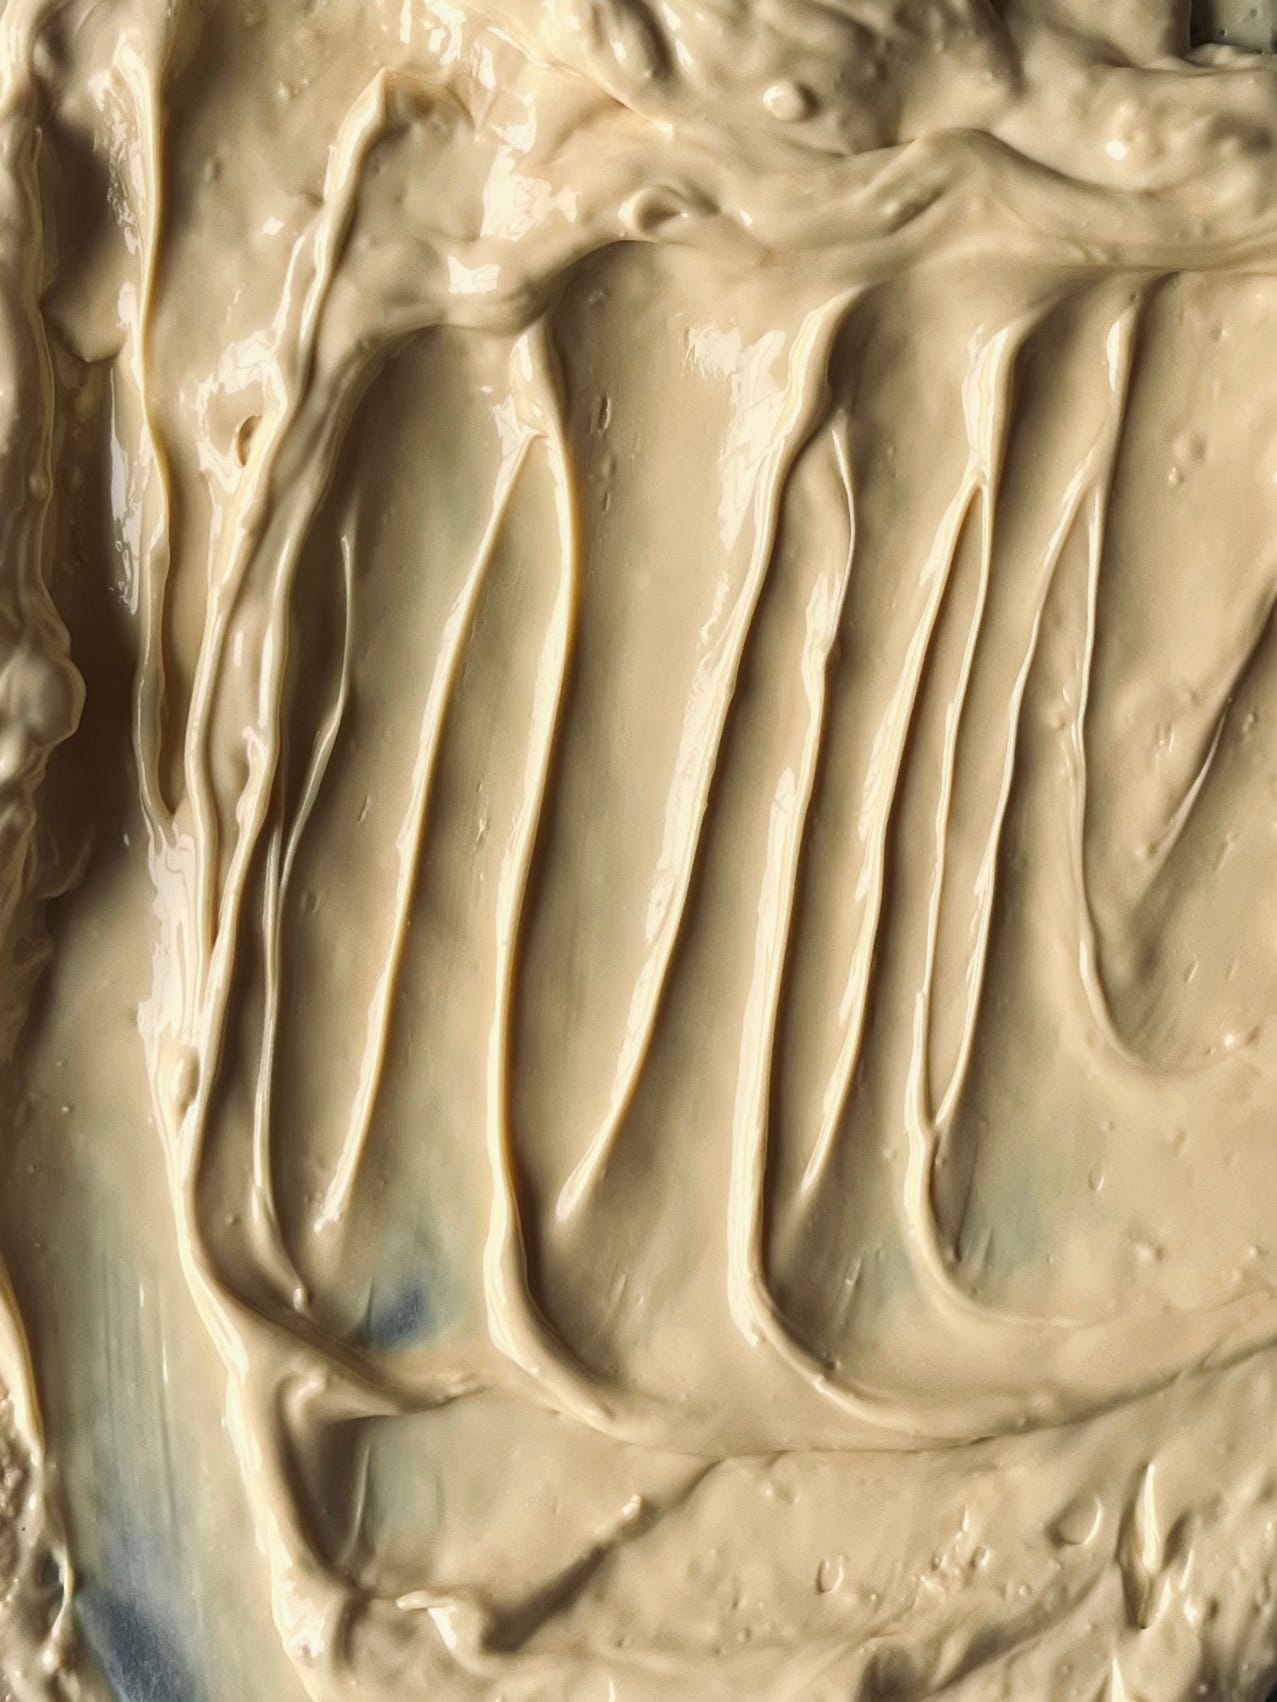
It’s a beautiful thing to watch as the creamy white chocolate transforms into a golden, silky smooth puddle. The chocolate goes into the oven for 10 minutes at a time at a low heat, for 5x, meaning 50 minutes in the oven in total. The reason for the low temperature and prolonged cooking time is that if white chocolate is exposed to high heat, it can become grainy and lumpy.
My top tip for caramelising white chocolate is to use the highest quality white chocolate you can find. I have tried caramelising some shop-bought white chocolates, but oftentimes the fat content is not as high as that of a higher quality bar, which leads to very grainy, lumpy caramelised white chocolate. You should aim to seek out a chocolate with at least 35% cocoa butter content. If you’ve a local chocolate shop, perhaps reach out to them, otherwise I’d recommend the brands Valrhona, Callebaut and Guittard. The amount of white chocolate stated below is of course just a guide–if you need more for a specific recipe–and it fits onto your baking tray–then use more.
Ingredients
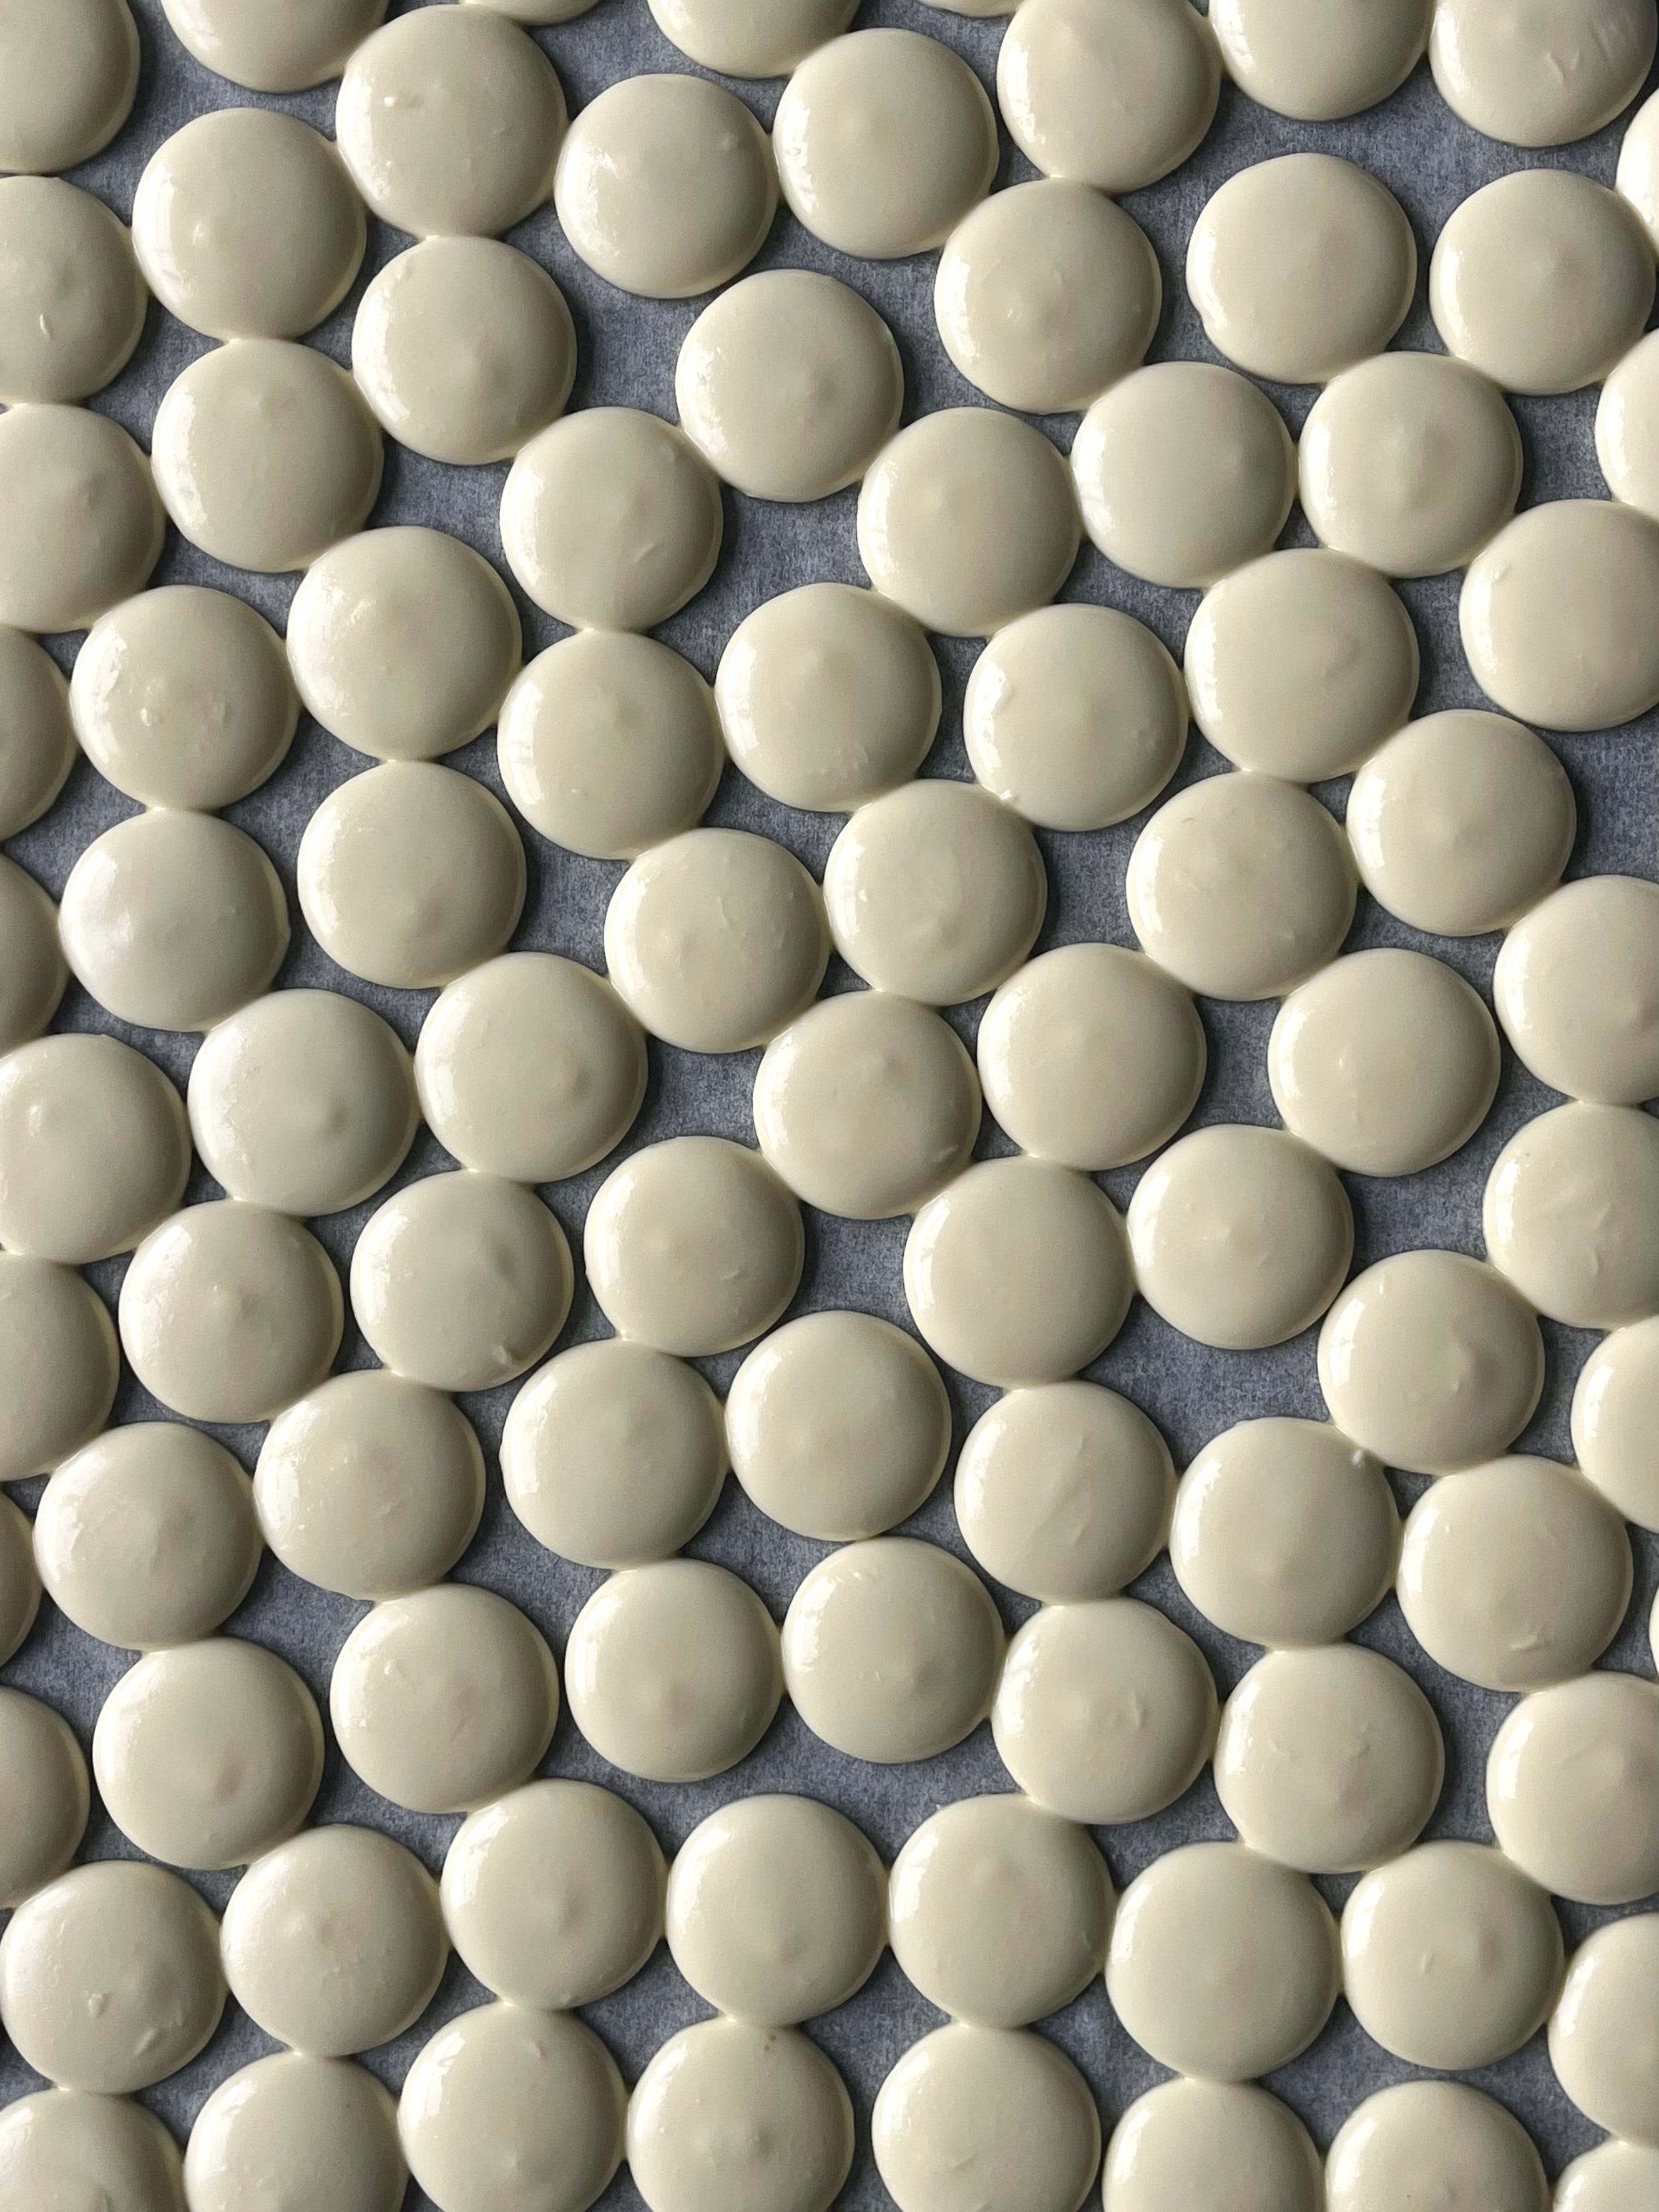
white chocolate 250g, high quality, buttons or roughly chopped
flaky sea salt a pinch, optional
Method
Preheat your oven to 120C fan.
Distribute the chocolate evenly across the baking tray, trying to keep it in one layer with minimal overlap. Place into the oven for 10 minutes. After this time, remove from the oven and use a spatula to press down on the chocolate to encourage any areas that have begun to melt, and spread the chocolate across the baking tray in an even layer.
Return to the oven for another 10 minutes. As time goes on and more of the chocolate begins to melt, I recommend using an offset spatula to scrape up any areas of chocolate that are slightly hardening to the baking tray and spreading them out, and being quite thorough with your smoothing with the spatula to encourage any small lumps of chocolate to melt. We want to give the chocolate as much surface area to be exposed to the heat as possible, so always try to spread it out into an even layer before returning the pan to the oven. Continue the process of removing from the oven after 10 minutes to spread the chocolate then returning to the oven 5 times, a total of 50 minutes.
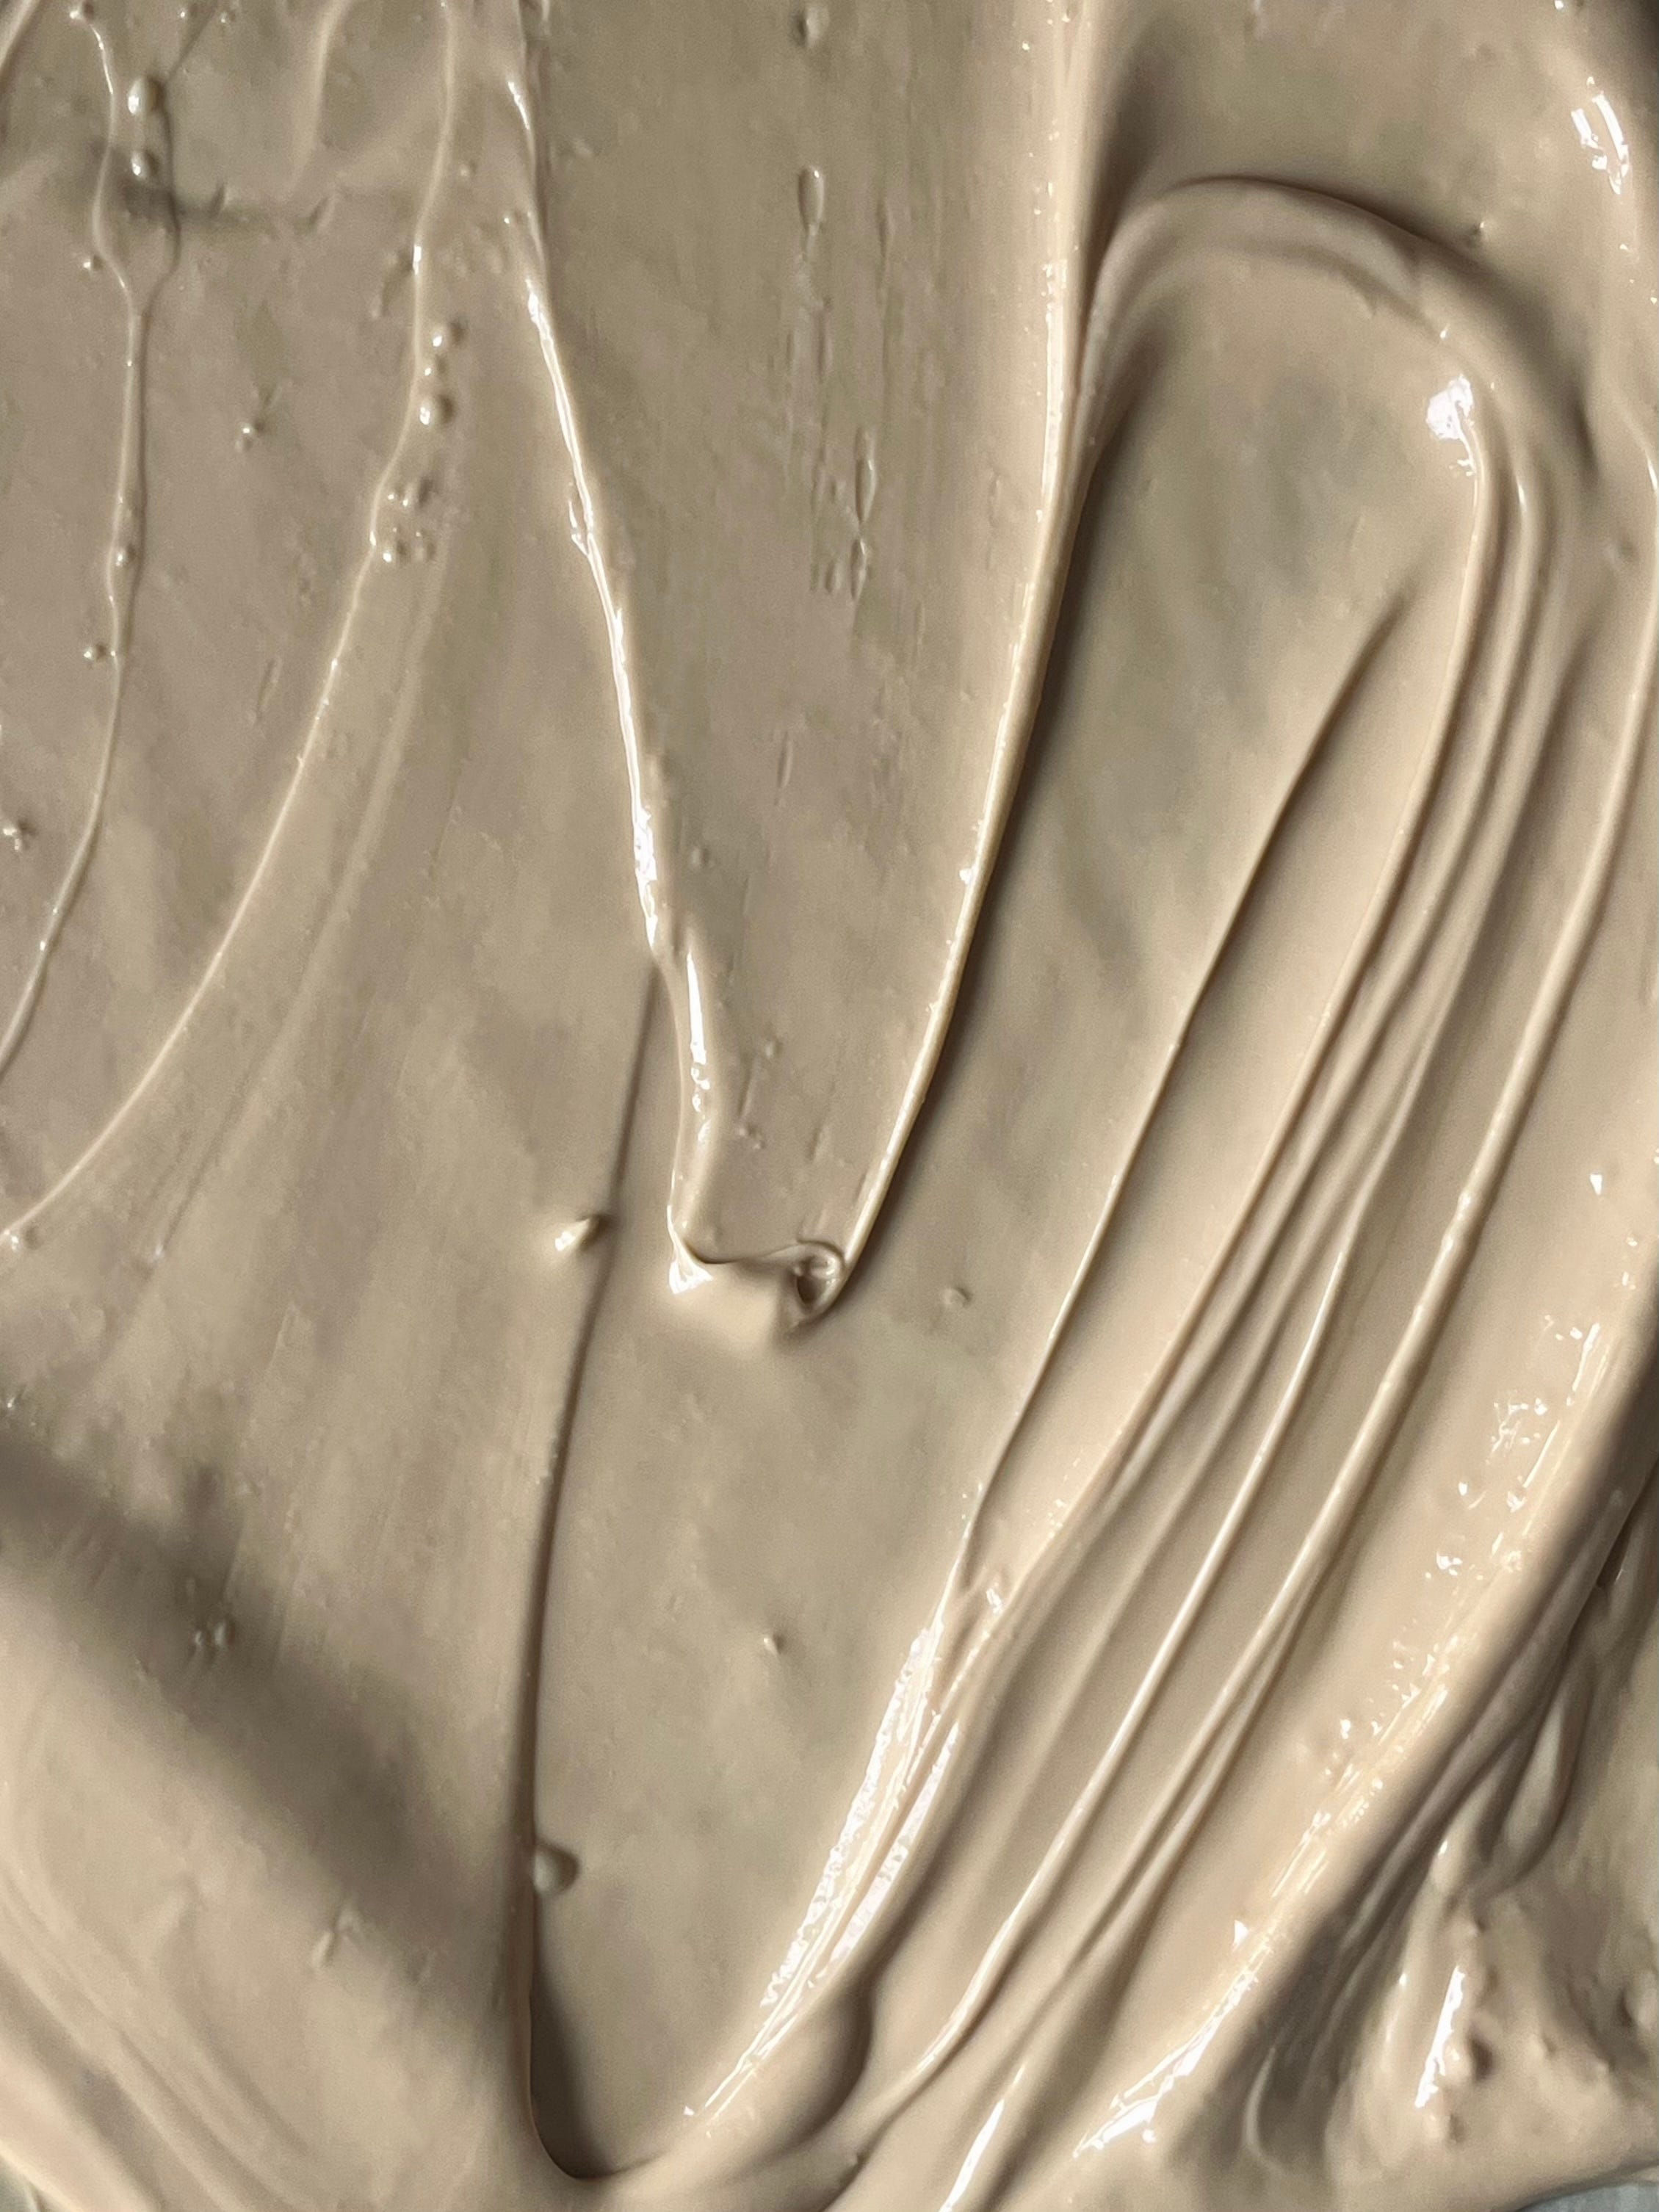

Once the chocolate has fully caramelised, I like to sprinkle some flaky sea salt across the surface to help offset the sweetness. Allow to cool completely on the baking tray before breaking up for storage. I recommend storing in a sealed container in the fridge, where it will last for months.
Thanks for the method. Enjoy the day.
I guess i’ll be nerding in the kitchen the whole week. Thanks for this!